Raspberry Pi Setup Instructions
The goal of these instructions is to provide you with a platform that you can use to create and share H5P content with in mobile scenarios. The platform will allow you to also run our custom H5P content types that you cannot install on cloud based solutions such as H5P.com or Lumi Cloud.
Please note that this will not provide you with a server to create and share H5P content on the internet.
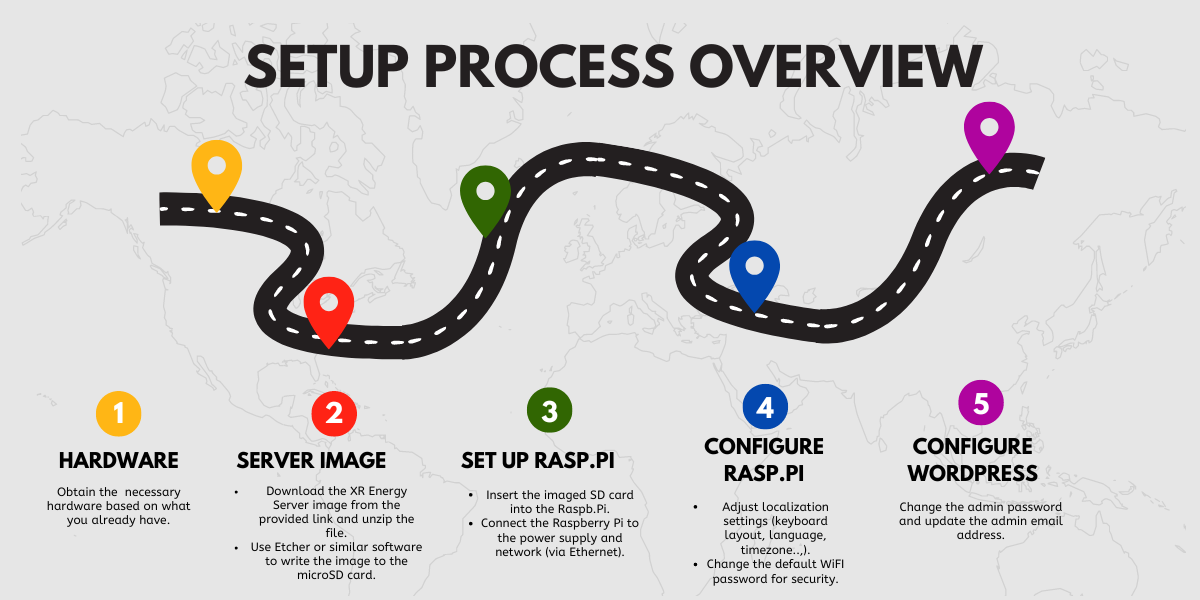
This graphic shows an overview of the setup process. The next pages will lead you through the process step by step and in more detail.
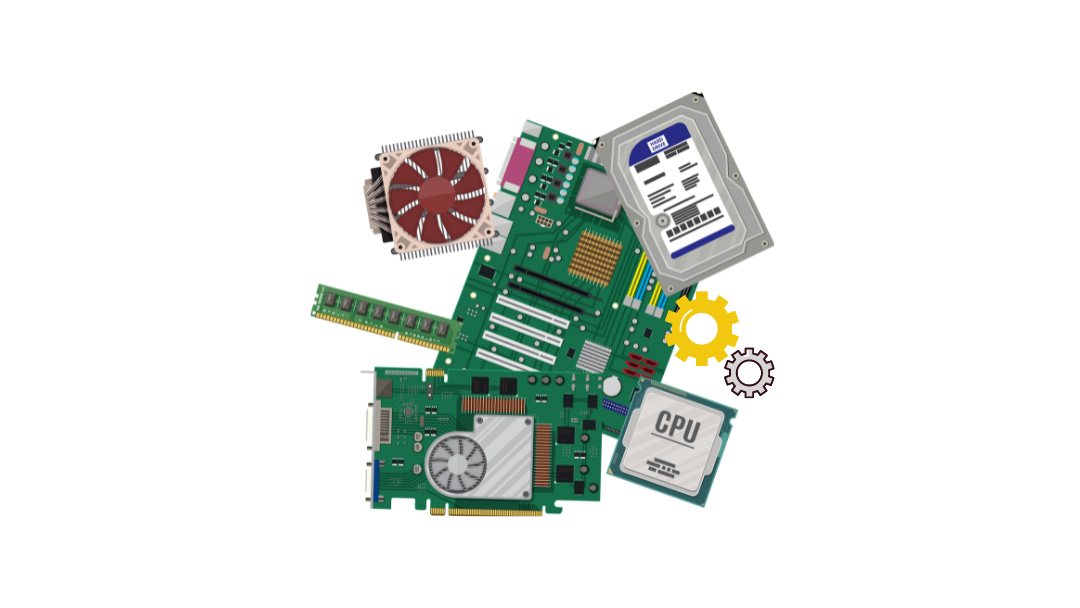
Hardware Details
In order to start the setup, you will need to puchase some hardware first.
There are plenty of vendors who sell Raspberry Pi computers, and they usually offer bundles for you to configure conveniently. That means you should be able to get everything that you need in one place.
Here’s an overview of what you need. Please note that the following list may feel long, but most things are optional or you may have them at home already.
On the next page there is a short checklist for you to get a clearer idea of what to purchase.
The following hardware is necessary
The following hardware is probably already available to you. If not, it should be purchased
The following hardware is optional.
Whether you want to purchase these items or not depends on your own needs and circumstances.
Necessary hardware:
What Hardware do you already have to get started with the Raspberry Pi setup?
Please check the items on the list below. Purchase the items that are not yet available.
Optional hardware, only necessary if you want to access the raspberry pi directly without connecting it to another PC.
Write the XR Energy Server Image
A server image is a complete snapshot or copy of a server's operating system, software, configurations, and data at a specific point in time. It includes all the necessary files, settings, and applications required to run the server. Server images are commonly used for deployment, backup, recovery, and replication purposes.
- Download our XREnergyServer image from Raspberry Pi H5P Server Setup (evlts.io)
- You will download a quite large zip file.
- Unzip that file. Make sure that you have 32GB available to wherever you are unzipping to.
- Put the microSDHC card into your PC's SD card reader and follow the instructions for your operating system (choose below).
Set up the Raspberry Pi
- Put the Raspberry Pi in its case
- Put the SD card from your Computer into the Raspberry Pie
- Power up the Raspberry Pi (should take around 15-20 seconds)
it will open a WiFi network. You can log into that WiFi network:
-
name (SSID): XREnergyMobile
-
password: xrenergy-mobile
You can then use a browser to access the WordPress site that is hosted on the Raspberry Pi via http://xrenergy.local/
Please note that your Raspberry Pi will need to be hooked up to the internet via the LAN port with a cable, otherwise, you will not be able to access the internet using your device. You will only be able to connect to the Raspberry Pi.
Oliver:
The most “complicated” part may be to put the Raspberry Pi in its case. After that, it’s just putting the SD card into the Raspberry Pi’s slot and attaching cables. Engage!
When the Raspberry Pi has powered up (should take around 15-20 seconds), it will open a WiFi network. You can log into that WiFi network:
-
name (SSID): XREnergyMobile
-
password: xrenergy-mobile
You can then use a browser to access the WordPress site that is hosted on the Raspberry Pi via http://xrenergy.local/
Please note that your Raspberry Pi will need to be hooked up to the internet via the LAN port with a cable, otherwise, you will not be able to access the internet using your device. You will only be able to connect to the Raspberry Pi.
Configure Raspberry Pi
There are a couple of local settings that you will want to adjust.
-
Setting up the keyboard layout is optional, but if you want to work on the Raspberry Pi directly at some point, it’d certainly useful to have it set up to your keyboard layout.
-
Setting the correct WiFi country may not feel mandatory - as the network works already - but you should at least set the country to where the WiFi is hosted for regulatory reasons.
-
Setting your local language is optional, but you may want to.
-
Setting the local timezone is optional, but recommended.
-
Changing the password for the XREnergy network is a must from a security perspective!
Start the Raspberry Pi. It will boot into the desktop without the need to log in.
Keyboard setup
-
Go to Preferences -> Mouse and Keyboard Settings
-
Choose Keyboard
-
Choose a keyboard layout
Localization
One step may not feel mandatory - as the network works already, but you should at least set the country to where the WiFi is hosted for regulatory reasons. Setting your local language and the local timezone are optional, but probably makes sense.
-
Go to Preferences -> Raspberry Pi Configuration
-
Choose Localisation
-
Chose Set Locale
-
Set your language
-
Set your timezone
-
Set your WLAN Country
Network password
You should change the password of the network!
-
Click on the network icon in the upper right-hand corner of the taskbar
-
Select Advanced options -> Edit Connections
-
Double click on XREnergyMobile
-
Go to “Wireless Security” Tab
-
Enter new password in password field
-
Click on Save
Configure WordPress
You should change the password and put in your designated admin email address!
You can use a browser to administer the WordPress site that is hosted on the Raspberry Pi via http://xrenergy.local/wp-admin. You can log into the site as admin:
-
user name: admin@wordpress
-
password: admin@wordpress
Known open issues
-
The SD card image is currently served on my private GoogleDrive account. We will need to find a sustainable place to host it under one general URL where the latest version will be served.
-
The HTTP connection between devices and the Raspberry Pi is not using TLS, so it is unencrypted. Everyone who can connect to the WiFi network can listen to all browser communication from and to the WordPress site. This is most likely not a big issue, but SSL certification seems sensible here. We could introduce a self-signed certificate that the user then (probably) must add to the list of trusted authorities in their browser.
-
The Raspian operating system and WordPress have been set up to automatically fetch and install available updates when the computer is connected to the internet. This should ensure that security updates find their way onto the device without the need to interfere. However, there will come a time when this does not suffice. For instance, PHP 8.3 will only get security updates until December 31, 2027. A newer version of PHP will then need to be installed and nginx be configured to use the newer version.
-
The current WordPress instance is only meant for demo purposes and would need to be “completed”.
-
The current nginx/PHP/WordPress configuration is set to accept files up to 25 MB when uploading. Don’t know if that will suffice in practice. H5P files may get larger, especially when using large media.
-
We should probably create an “XREnergy server” distribution based on WordPress and offer this for installation as well, so companies can set it up on web space. The Raspberry Pi should then use the same version and the “technical instructions” to create the image would change.